How to Reset Oraimo Freepods 4 (3 Simple Steps)
Are you looking for how to reset Oraimo Freepods 4? In this article, we will share a step-by-step process to help you reset the earbud in case of any issues. Sometimes, paring with new devices can be hard or may not even pair with your phone. Resetting it could be the best way to go. It is not as difficult as you think; you can reset the Earbud with just a few actions. Let’s get down to business and share the steps with you.
How to Reset Oraimo FreePods 4: Step-By-Step Process
Resetting your Oraimo FreePods 4 is a straightforward process involving just a few simple steps. Here's a guide on how to do it.
Step 1: Unpair your Oraimo FreePods 4 with your phone. Go to your phone's Bluetooth settings, select the Oraimo Freepods 4, and unpair it with your phone.
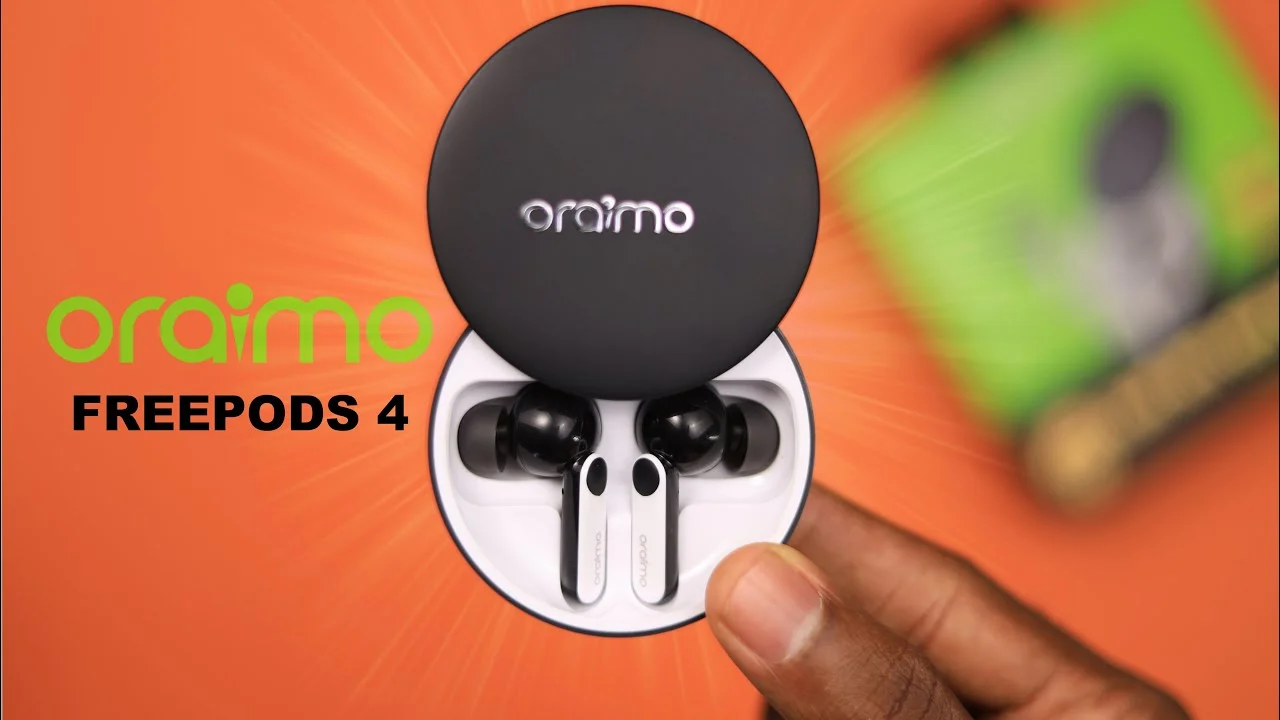
Step 2: Remove the earbuds from the charging case, which will be blinking on the left earbud. It’s a sign that they want to pair, but since they are disconnected from your phone, it will not connect. Tap on them at the three times together, and they will start blinking together. After a while, only one will start blinking, and that confirms that you have completed the reset. You can also tap on them individually three times, and if you see them blinking yellow, they have started resetting. It will return to the normal green and red blink after the process.
Step 3: return the buds to the case when the process is complete, and then pair it again with your phone. The pairing process will be faster, and it will work like it used to before. If the methods didn’t work, comment, and we will help you fix your Oraimo FreePods 4.
Rounding Up
This guide will be helpful to you. Oraimo earbuds are affordable and offer good quality for money. There are times when they develop minor issues, making us panic. Over 60% of the issues can be solved by a simple reset. Ensure you chat with us in the comments regarding any experience with Oraimo earbuds.