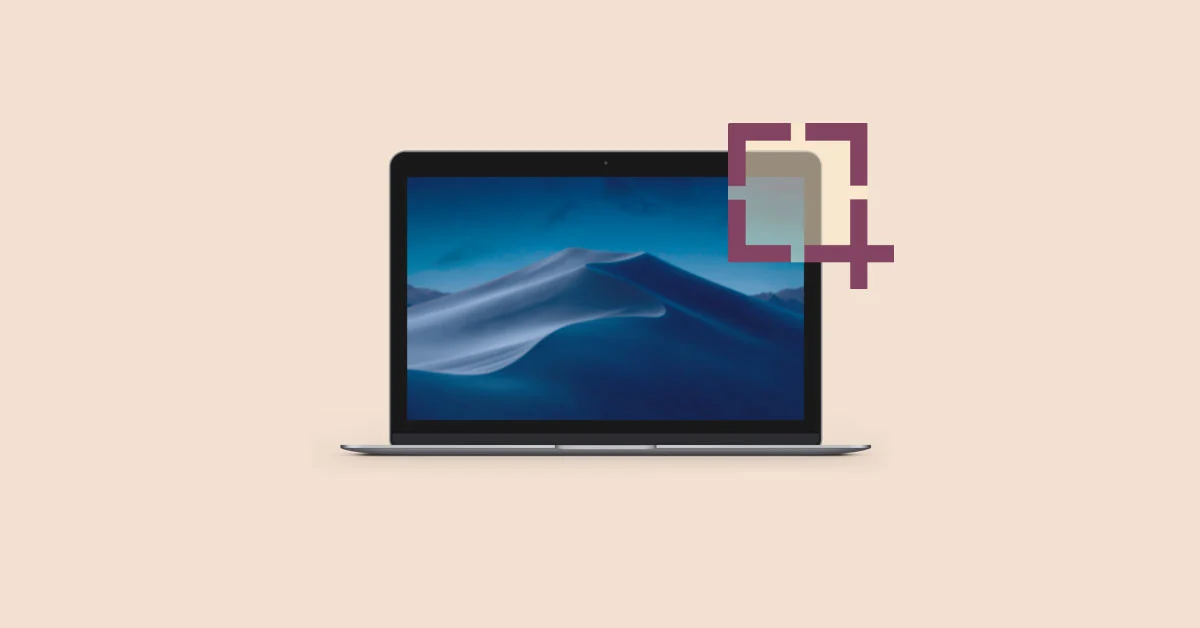
How to Screen Shot on a MacBook
In our digitally charged world, it's imperative to understand how to navigate your devices effectively and efficiently. One such handy skill is taking a screenshot on your MacBook.
Whether you need to capture an error message to share with tech support or want to immortalize a hilarious moment from an online video chat, knowing how to screenshot can prove invaluable in diverse situations.
In this blog, we will cover the different methods of taking screenshots on your MacBook - from capturing specific areas to fullscreen shots - all with just a few keystrokes.
Understanding the Different Types of Screen Shots
First, it's essential to understand that screenshots are not a one-size-fits-all tool. You can take screenshots depending on what you're trying to capture. As the name suggests, a full screenshot captures everything visible on your MacBook's screen. This is useful when you need to share what's on your display, for example, an elaborate spreadsheet or an interesting article.
Next up, we have the partial screenshot. This type of shot allows you to select a specific area of the screen to capture. This is a great option when you only want to share a portion of what's on your screen, such as a specific error message.
Lastly, we have the window shot. This type of screenshot captures a specific application window. It's particularly beneficial when you need to share content from a particular application while ignoring all other distractions on the screen.
How To Screenshot On A Mac
Using the Shortcut Keys
Executing these various types of screenshots on your MacBook is incredibly simple, thanks to a series of shortcut keys. Press the Command + Shift + 3 keys simultaneously to capture a full screenshot. This will capture everything on your screen and automatically save it as a PNG file on your desktop.
If you wish to take a partial screenshot, the keystrokes change slightly to Command + Shift + 4. Upon pressing these keys, your cursor will change to a crosshair, allowing you to select the specific area you wish to capture.
When taking a window shot, press Command + Shift + 4 and then the Space bar. Your cursor will change to a camera icon, and you can then select the window you wish to capture. These handy shortcuts make taking screenshots on your MacBook a relatively effortless task.
Utilizing the Grab Tool
The Grab tool is another tool for taking screenshots on your MacBook. This handy tool comes pre-installed on your MacBook and offers a user-friendly screenshot interface.
To use Grab, you'll need to navigate to the Applications > Utilities folder on your MacBook and open the Grab application. From there, you'll see a menu with options like Selection, Window, Screen, and Timed Screen, each allowing you to take screenshots.
One notable feature of the Grab tool is its ability to take timed screenshots, which are helpful when you need a delay before the screenshot is captured. This added flexibility makes Grab a valuable tool in your screenshot-taking toolbox.
Taking a Screen Shot with the Preview App
The Preview app typically used for viewing photos and PDFs, also doubles up as a tool for taking screenshots on your MacBook. The straightforward interface of the Preview app makes it a favorite among many MacBook users.
Once inside the app, you can find the option to take a screenshot under the File > Take Screenshot menu. Clicking on this option gives you a choice between capturing the entire screen or just a selected portion.
The Preview app also offers a range of editing options after you've taken a screenshot. You can annotate your screenshots with text, shapes, and even signatures. You can also quickly crop, resize, or rotate screenshots as needed. This added versatility makes the Preview app a potent tool for taking and editing screenshots on your MacBook.
Using Third-Party Apps
In addition to the built-in tools, several third-party apps can enhance your screenshot-taking capabilities on your MacBook. Popular options include apps like Lightshot, Snagit, and Monosnap, each offering unique features and functionalities.
For instance, Lightshot offers easy-to-use editing tools, Snagit is known for its robust screen recording and capture capabilities, while Monosnap offers cloud storage for your screenshots. Most of these apps are free, with optional paid versions offering extra features.
To download and use these third-party apps, you need to visit their respective websites or the App Store, download the installation file, and follow the on-screen installation instructions. While these apps might take a little getting used to, they can significantly enhance your screenshot-taking capabilities, offering features not available in the built-in tools.
Troubleshooting Common Issues
Sometimes, you might encounter issues when taking screenshots on your MacBook. Common problems include the screenshot not working, resulting images being blurred or distorted, or the quality being less than ideal. If your screenshot is not working, check if your keyboard shortcuts are correctly configured. You can do this by navigating to your MacBook's System Preferences > Keyboard > Shortcuts menu.
For issues related to blurred or distorted screenshots, check to see if your screen resolution settings are correctly set. You can do this by navigating the System Preferences > Displays > Resolution menu. If your screenshots are still not up to the mark, consider using third-party apps offering advanced features and settings to improve screenshot quality.
Conclusion
Taking screenshots on your MacBook is a relatively straightforward, equipped with various tools and methods to capture just about anything on your screen. The key is to familiarize yourself with the different types of screenshots, learn the keyboard shortcuts, and know how to use tools like Grab and Preview.
It's also worth exploring third-party apps, which often provide additional features and functionalities, enhancing your screenshot-taking capabilities. If you encounter any issues, check your keyboard and screen resolution settings or consider using a third-party app. So, experiment with these different methods and become a screenshot pro quickly.